One of the rooms in our houses that gets the most use is the bathroom. However, bathrooms are vulnerable to mold growth and water damage because of their continuous exposure to moisture and water. For this reason, making sure your bathroom is adequately waterproofed is crucial. Having thorough knowledge of bathroom waterproofing—which is relevant at this point—guarantees that the appropriate safeguards are put in place to prevent future building issues.
We will look closely at what bathroom waterproofing is, why it’s important, what the best materials are, and how to waterproof a bathroom wall and floor in this piece written by CHEMAX, a specialist in construction chemicals.
Before reading our article, you can also read Things to Know About Basement Waterproofing, which is our piece about building foundations, one of the areas where waterproofing is crucial.
What is Bathroom Waterproofing?
The process of applying a water-resistant barrier to bathroom surfaces in order to stop water intrusion is known as bathroom waterproofing. The walls, floors, and other surfaces in the bathroom will all be sealed to prevent water damage. Because it stops water from seeping through the walls and floors, which can cause structural damage, mold growth, and other major issues, waterproofing is crucial.
Why Waterproofing is Necessary for Wet Floors?
To stop water from damaging bathrooms, toilets, kitchens, laundry rooms, and other wet areas, a process known as waterproofing is used. The wet floor insulation boosts the structures’ water resistance and keeps water from seeping into the structural components. This procedure prolongs the life of structures and helps to prevent damage.
As bathrooms and toilets are frequently in contact with water, waterproofing is particularly crucial in these areas. Water leaking into the walls and floor of the bathroom can occur from showers, bathtubs, sinks, and other fixtures. Permanent damage may result from water seeping under floors, between walls, or into other building components in areas that aren’t waterproofed.
Additionally, spaces like bathrooms and toilets are vulnerable to the growth of mold and fungus in the absence of waterproofing. A health risk may arise from this. Fungi and mold can lead to various health issues, including respiratory disorders. By keeping water out of the space, waterproofing inhibits the growth of fungus and mold.
In other moist areas, waterproofing is also essential. Water cannot seep beneath kitchen countertops or cabinets into spaces beneath the floor thanks to waterproofing in the kitchen. In a similar vein, waterproofing the laundry area stops water from leaking into the space beneath the dryer and washer.
How to Waterproof the Bathroom Floor?
The process of waterproofing the walls and floor of a bathroom is known as waterproofing. This stops water from leaking into spaces beneath the bathroom or into adjacent rooms by stopping it from penetrating into the walls or floor of the bathroom. The procedures listed below can be used to waterproof the restroom:
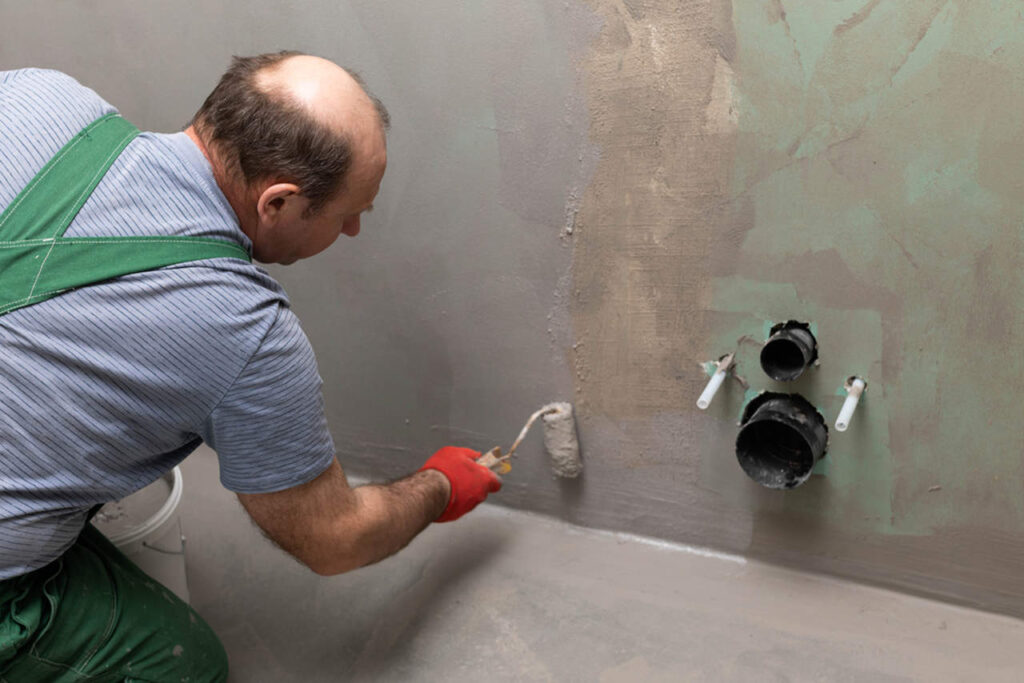
1. Prepare the Bathroom for Insulation
Before applying waterproofing, the bathroom’s floor and walls must be cleaned. Floor pits and sloping sections must be leveled. The bathroom walls’ cracks, holes, and other imperfections need to be fixed.
2. Choose the Right Waterproofing Material
For bathroom waterproofing, a wide variety of materials can be utilized. There are numerous options, including bituminous or rubber materials, waterproofing membranes, and liquid waterproofing materials. As a result, selecting the appropriate material is crucial before beginning the waterproofing process.
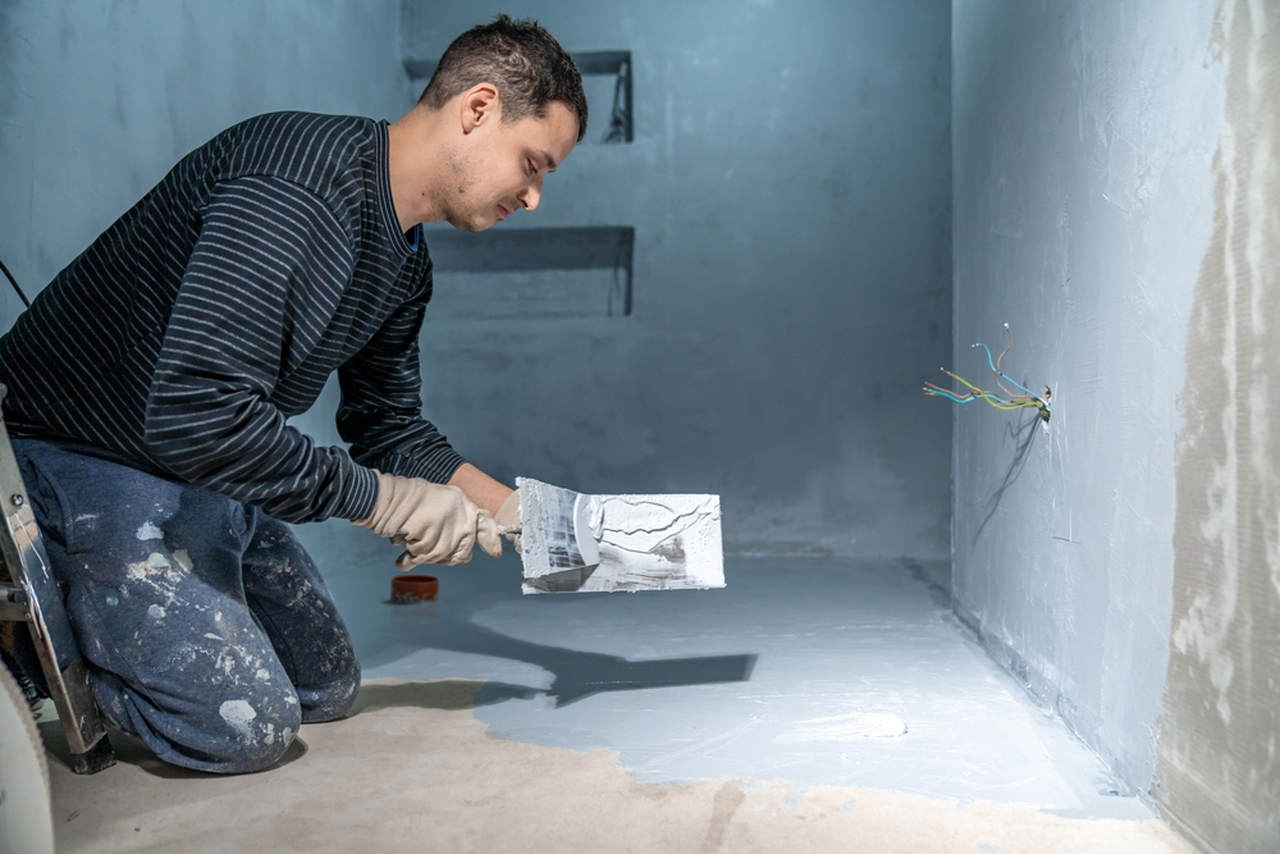
3. Prepare the Surface with Primer
A primer must be applied to the floor’s surface before waterproofing can be made. The flooring should then have the waterproofing material applied to it. Make sure the entire floor is covered with the waterproofing material. Additionally, a space between the walls and the floor that is 10 to 15 cm should have it applied. At the point where the walls and floor meet, this region keeps water from leaking in.
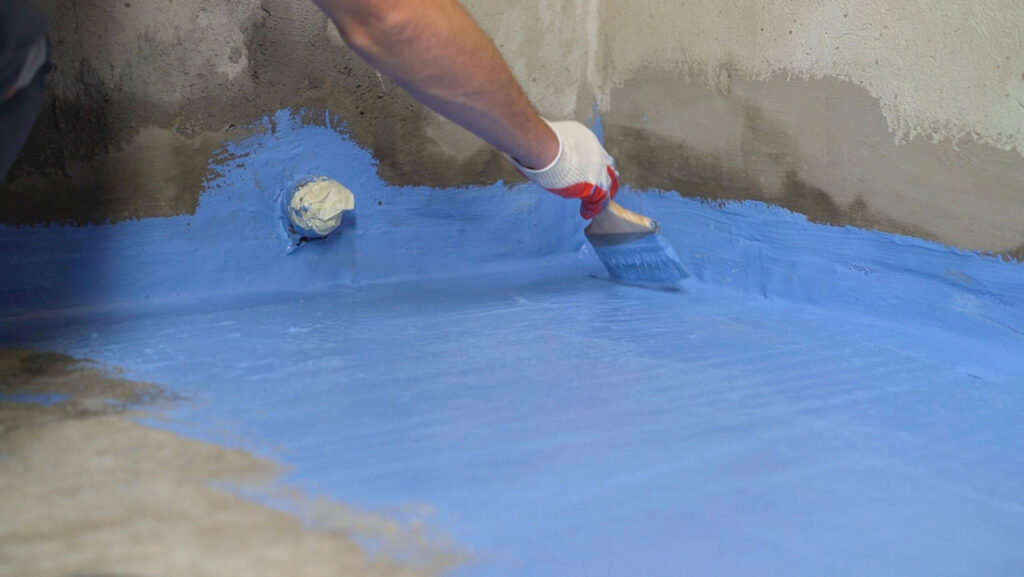
4. Sealing the Joints
Applying the waterproofing material to the joints between the wall and the floor requires caution. Joints are places where moisture can enter. Therefore, it is essential to carefully seal the joints.
5. Testing
To stop water leaks, the bathroom’s walls and floor should be tested for water retention after the waterproofing procedure is finished. To stop water from leaking into spaces beneath or close to the bathroom, this test is crucial.
Water is poured onto the bathroom walls and floor to perform the waterproofing test. For a minimum of twenty-four hours, the water remains on the walls and floor. Verify that there are no leaks of water at the end of this period. If so, the issue might need to be resolved by reapplying the waterproofing material.
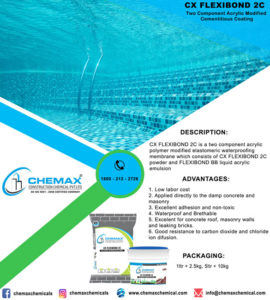
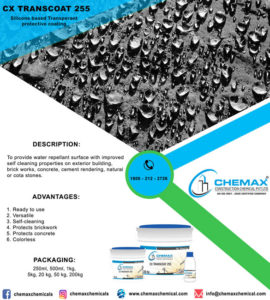
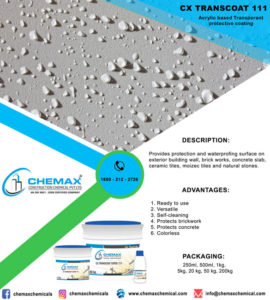
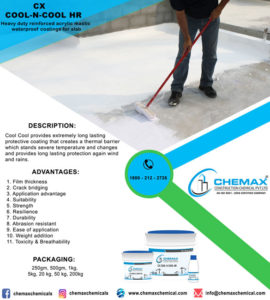
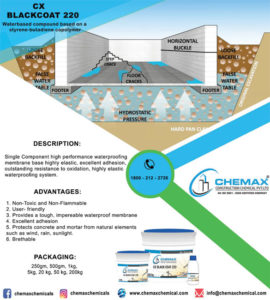
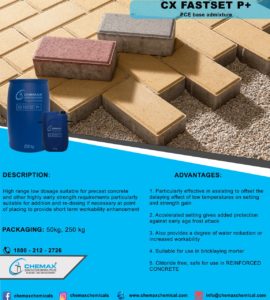
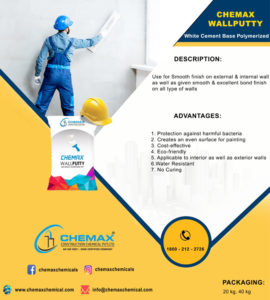
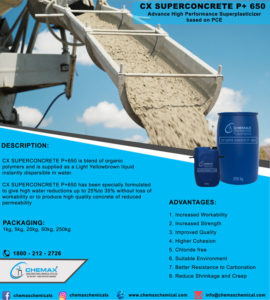
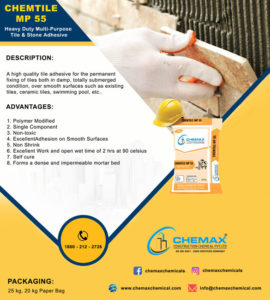
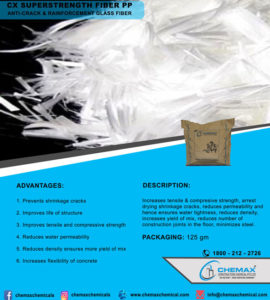
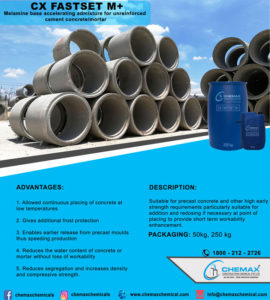
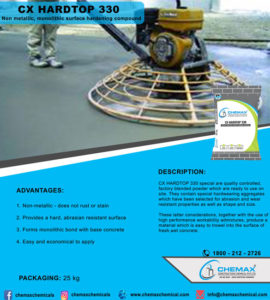
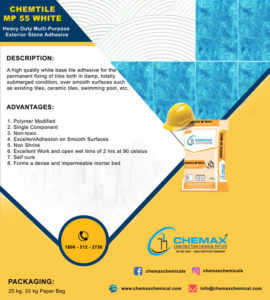
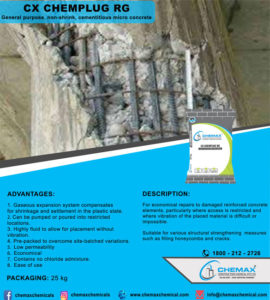
Some Of Our Products Are Below ::